Showing posts with label Coconut oil. Show all posts

Carrot-Oat Breakfast Cookies


In the past I have posted about my favorite, cookies for breakfast!

Click here to check out that post.

But just to recap... I occasionally receive a small recipe booklet in the mail from Ralph's (or Fry's here in Arizona) grocery store. They have done a lot over the years to appeal to the more health conscious customers, and so far all of the recipes I have tried have been very tasty!

These cookies are healthy'ish, at least in my opinion anyway. They are high in Vitamin A and are naturally sweet without using anything but maple syrup and coconut oil to sweeten it. I made a few tweaks to this recipe to make the cookies a tad bit healthier. The original recipe called for using canola oil, but I used coconut oil instead. I found the original recipe to be a bit runny, so I suggested to use 1/4 of ground flax seed in the recipe as well, which the original recipe did not call for. I'm glad I found a good reason to add in so much flax seed, as it provides a ton of Omega-3's and has numerous health benefits.

Prep Time: 20 minutes | Bake Time: 10-12 minutes | Total Time: 30-32 minutes
Makes About 20 cookies

Ingredients:
  • 1/2 cup whole-wheat four
  • 1/2 cup old-fashioned rolled oats
  • 1/4 cup ground flax seed
  • 1/4 cup Grade B maple syrup
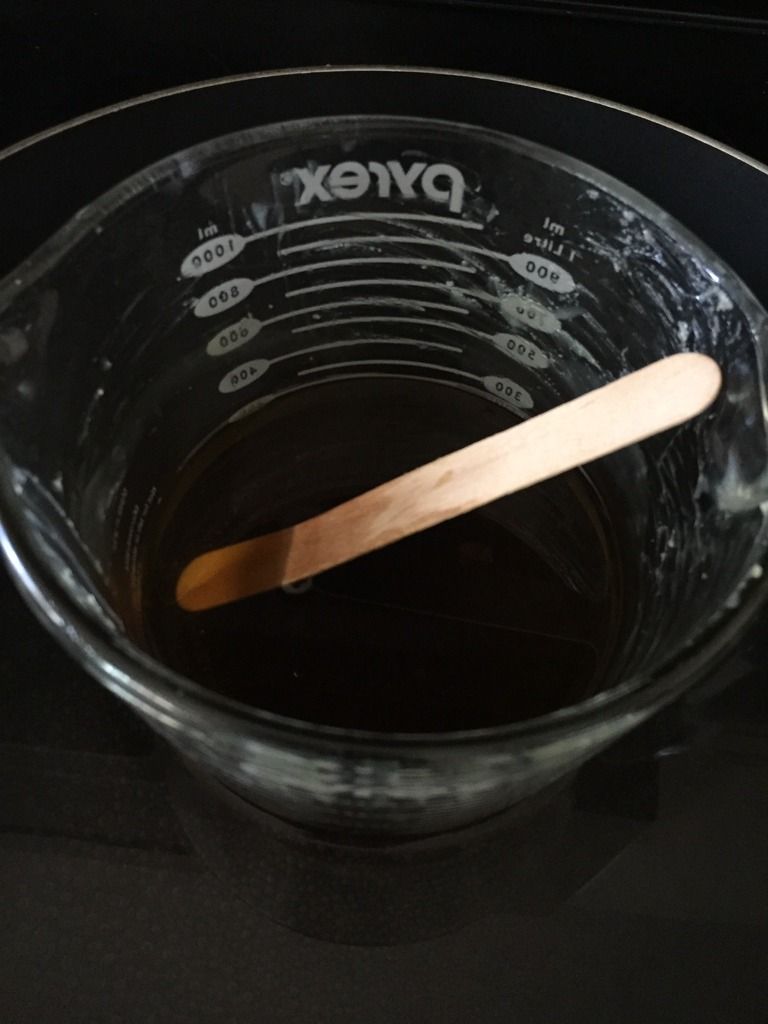
  • 1/4 cup coconut oil
  • 2 eggs
  • 1/3 cup grated carrots
  • 1/4 cup unsweetened shredded coconut
  • 1/4 cup dried cranberries
  • 1/4 cup walnuts, chopped
  • 1/2 teaspoon baking powder
  • 1/4 teaspoon salt
  • 1/8 teaspoon nutmeg


Instructions:
Preheat oven to 350 degrees Fahrenheit.

Line two baking sheets with parchment paper.

Combine flour, oats, baking powder, nutmeg and salt in the work bowl of a stand mixer outfitted with the paddle attachment. Mix until well blended.

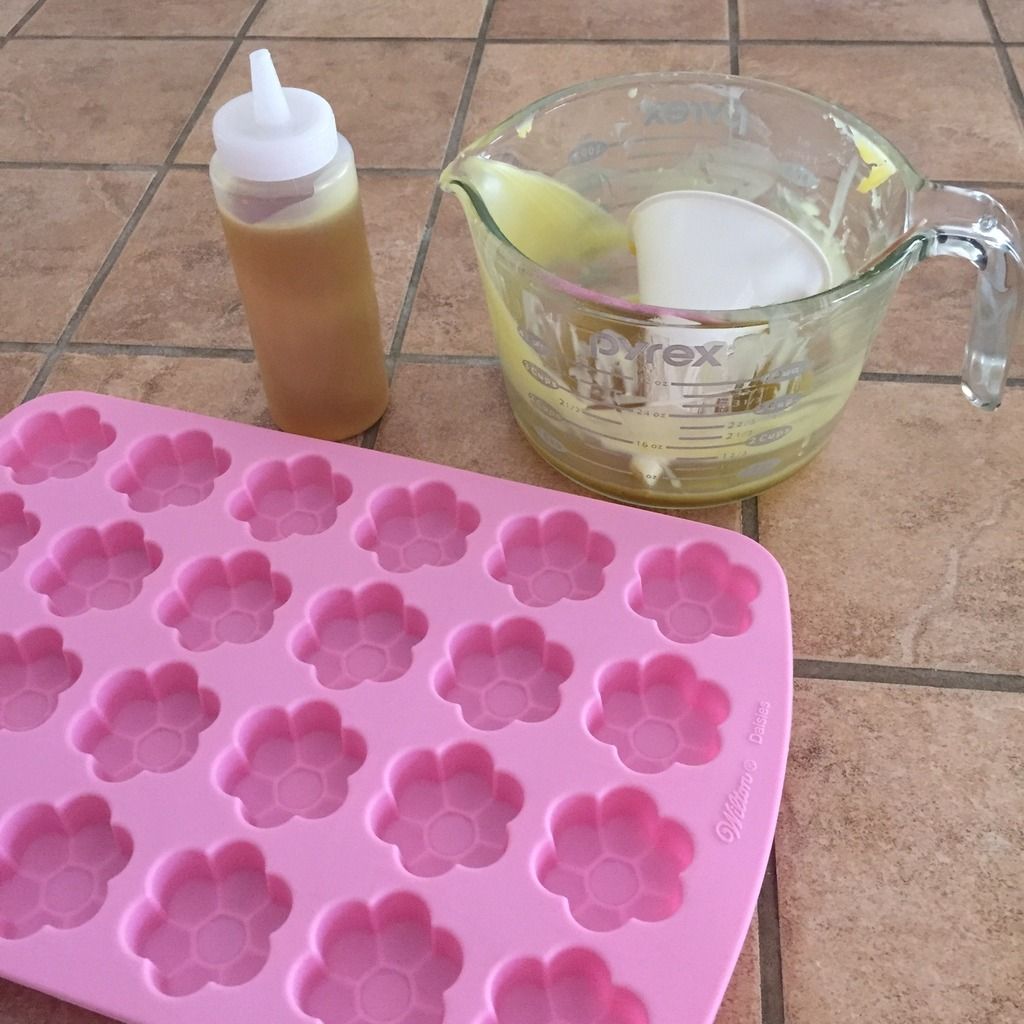
Add maple syrup, coconut oil, eggs, coconut, grated carrots, walnuts and cranberries. Stir just to blend.

Arrange the cookies about 2 inches apart on the baking sheets.

Transfer to the oven and bake for 10-12 minutes, or until the edges begin to brown.

Let cookies cool completely before removing from baking sheet.

Serve immediately or store in airtight container in the refrigerator.

Bubbling Bath Salts


Homemade bath and body products are my absolute favorite!! They are so  much fun and also inexpensive to make. Depending on the season, holiday, or occasion you can mix and match colors and scents as needed. These products also make great gifts. They are so simple to make, just about anyone can do it. My 6 year old made the salts pictured for his teacher on her birthday. He had a blast making them and really felt like he was doing something special for her. As expected, she loved receiving a homemade gift from her student!

Soaking in the bath, in general, provides many health benefits. It promotes healthy circulation, perspiration, and relaxation. Taking baths also aids in the removal of dead skin cells that can block pores and lead to unsightly bumps and blemishes on your body. Through the process of dermal absorption, or absorbing nutrients through the skin, your body is able to absorb minerals more effectively than consuming the minerals orally.

Ingredients:
  • 1 cup Epsom salt
  • 1/2 cup Himalayan sea salt
  • 1/4 cup baking soda
  • 3 tablespoons Body Wash (I used Dr. Bronners Baby Wash)
  • 1 teaspoon coconut oil
  • Optional: Food Coloring (I used a few drops of gel food coloring)


Essential Oils:
  • 20 drops essential oil of your choice (I used Lavender for this batch)
I only use therapeutic grade essential oils that are safe for consumption.
For more information on how to purchase these oils, please feel free to contact me.)

Instructions:
Combine body wash, coconut oil, essential oils, and food coloring (if using) in a large mixing bowl.

Add Epsom salt, Himalayan sea salt, and baking soda to mixture.

Mix until well combined.

Spread mixture out to dry on a large baking sheet.

Allow mixture to dry for about 24 hours.

Add mixture to container of your choice. We used a glass jar and attached a spoon for scooping out the bath salts.

Add desired amount to warm bath, and enjoy!

Mixture keeps for about 3 months. 

Nerdy Extras:
Epsom salt is not actually a salt, but a mineral compound of magnesium and sulfate. To see the health benefits I listed in a previous post, click here. Sulfates help to improve absorption rates of nutrients, while flushing out toxins. Sulfates are also know to ease pain associated with headaches and migraines.

Himalayan sea salt benefits include supporting healthy weight loss, easing muscle pain, detoxifying, and hormone balancing.

Baking soda, aka sodium bicarbonate, provides alkalinity and aids in removing toxins from the body. It also helps to make bathwater feel silky.


FDA Disclaimer: "These statements have not been evaluated by the Food and Drug Administration. This product is not intended to diagnose, treat, cure, or prevent disease."

How to: Oil Pulling


Once again the topic of interest this week is oral health. Good thing, too, with all the sugary treats coming our way with the holiday season quickly approaching.

Like I said in my previous post, prevention is everything, & good oral hygiene is a must. Oil pulling is not meant to replace proper dental care. I am simply using it as a supplemental therapy. I still brush my teeth twice a day, floss before bed, & see my dentist twice a year.

What is Oil Pulling?
Oil pulling is definitely a growing trend, but it is definitely not new either. This type of oral therapy is a type of Ayurvedic (Indian) medicine dating back 3,000 years. Its a very simple technique, only involving swishing oil in your mouth for up to twenty-thirty minutes at a time, & then spitting it out. 

While you could use any high quality oil to do this, coconut oil is the oil of choice for oil pulling. Coconut oil has lauric acid in it, which has anti-microbial & anti-fungal properties. Recent studies have also shown coconut oil being used to prevent tooth decay. Coconut oil also contains vitamin E, a natural antioxidant.

Why is it so important to oral health?
Oil pulling helps fight cavities, gingivitis, plaque, & microorganisms that cause bad breath (halitosis). Most cells in our mouth are single in nature. Those single cells are covered in a fatty membrane. When these cells come into contact with oil, a fat, they naturally attract & stick to each other. When you spit out the oil, the bad cells that are bound to it, come out with it.

Other benefits of oil pulling include:

  • Whiter teeth
  • Stronger teeth
  • Stronger gums
  • Improved sleep
  • Improved sinus issues
  • Improved skin conditions (acne, psoriasis, and eczema)
  • Can alleviate headaches
  • Can reduced jaw pain (excellent for those suffering from TMJ)
  • Can reduce hangover symptoms

Instructions:
Oil pulling is best done on an empty stomach. So try oil pulling first thing in the morning.

Get 1 tablespoon of coconut oil & gently swish in your mouth for as long as you can. A minimum of 5 minutes is recommended, & up to 20 minutes.This should not be vigorous or aggressive, as your mouth will get tired. Just gently swish back & forth in your mouth, & gently suck oil between teeth. I have found coconut oil to work best when in liquid form, otherwise it takes some time to melt the oil in your mouth.

As you swish, the oil begins to swell, or grow in mass. This is completely normal & is primarily due to the toxins being drawn out of your body.  

Don't swallow the oil! The harmful bacteria you are trying to remove from your mouth is now inside the oil.

If you feel the need to swallow, you probably have too much oil in your mouth. Spit out & start over with a smaller amount. 1 tablespoon of oil is recommended, but not required to be effective.

When you are done oil pulling, spit the oil into a wastebasket. Spitting the oil down your sink could clog your pipes, as coconut oil does solidify in lower temperatures.

You will notice when you spit the oil out, that it is white and cloudy - that's a good sign!

Good luck on your oil pulling journey!

FDA Disclaimer: "These statements have not been evaluated by the Food and Drug Administration. This product is not intended to diagnose, treat, cure, or prevent disease."


Hard Lotion Bars


I was initially inspired to make these lovely hard lotion bars due to the very hot and dry weather here in Arizona. My skin is naturally on the dry side, so living out here just made it worse. I needed a lotion that was able to keep my arms, legs, hands, and feet looking moisturized all day long. These little bars do exactly that! Now, I warn you, this is not a light moisturizer. This is a very heavy moisturizer, and a little bit goes a long way. I tend to have sensitive skin with certain lotions, but this lotion has yet to give me any problems after having used it for months. That being said, I'm clearly a big fan of these powerful little lotion bars. I liked them so much that I thought they would make great gifts, so that's exactly what I did. I really enjoy making homemade products, it's a lot of fun to me. Sure, it may take more time, but it's so original and you can really customize your products based on the needs of the person you are making it for.  Plus, it's economical once you are all stocked up on all of your basic DIY materials.

Shea Butter is a softer butter, so these bars will be a little softer, which is why I recommend storing them in the refrigerator until ready to use. Especially if you live somewhere hot like me! The beeswax smell does tend to overpower the smell of the oils. Despite lacking an aroma, the essential oils are still in there, providing the same level of therapeutic value.


Before you embark on this DIY mission, you are going to need a silicone treat mold, This recipe makes 2-3 dozen mini lotion bars, depending on the size of the mold. I recommend sticking to smaller mold sizes. I also recommend not making thin lotion bars, as they will not hold up well when applying them.

Ingredients:
  • 2/3 cup Beeswax 
  • 1/2 cups Coconut Oil
  • 1/2 cup Shea Butter 
  • 1 teaspoon Vitamin E Oil (approximately 4 capsules)
 

Essential Oils:
  • 20 drops of an essential oil of your choice.
...Lavender, peppermint, and citrus are always popular choices...
(I only use therapeutic grade essential oils that are safe for consumption.
For more information on how to purchase these oils, please feel free to contact me.)
Instructions:
  • Measure the beeswax, coconut oil, shea butter, and vitamin E in a glass jar. I used a glass Pyrex container, but anything glass or metal would work just fine.
  • Fill pan with about two inches of water. Bring to a boil. 
  • Place Pyrex container with ingredients into the boiling water. This is an important step. You want to do this to avoid having the ingredients get too hot, or use a double boiler.
  • Bring heat down to a simmer. You don't want to overcook the lotion.
  • Stir ingredients until combined. Should take about 10-20 minutes. I used a wood craft (Popsicle) stick to stir, so that I could just toss it in the trash when done.

  • Once the lotion has been melted, remove it from the heat, and let it sit until the glass jar is no longer hot to the touch. Approximately 2-3 minutes.
  • When the lotion is cooled, add about 20 drops of essential oil and stir.
  • You could do one of two things here. You could pour the lotion directly into the silicone mold, or you could do what I did and pour the lotion into a wide mouth squeeze bottle (like this). It was so much easier to just squirt the lotion into the molds this way. Clean up was a breeze, too.
  • Once all of your molds are filled, let them harden for at least 3 hours, preferably in the refrigerator.
  • Remove the bars from the tray, and place them in a glass jar or ziplock bag in the refrigerator until ready to use. You could also store them at room temperature if you live in a cooler climate. 
  • When you are ready to use the lotion bars, simply rub them on the areas of your skin needing extreme moisture. 

Nerdy Extras:
Beeswax acts as a surfactant, meaning it acts as a barrier on the skin when blended into a cream or lotion. This barrier protects the skin from irritants, while still allowing the skin to breathe.

Coconut oil is a wonderful, and wildly popular, all-natural base for many DIY skincare and wellness practices. When applied to the skin, it absorbs into your skin and connective tissues, keeping them strong and supple, thus helping to reduce the sign of aging. It also helps exfoliate the outer dead layers of skin, making skin appear smoother.

Shea butter is extracted from the nuts of a Shea tree, which is indigenous to Africa. It's chemical constituents are rich, which include unsaturated fats, essential fatty acids, antioxidants, and vitamin E and D, among other noteworthy constituents. It is considered to be "Super-Food" for your skin, and one of the best anti-aging agents available; improving wrinkles, fine lines, and scars. It is deeply moisturizing, and stimulates collagen production (what makes your skin look younger). It protects your skin from UV sunlight, harsh (cold/dry) climates, dehydration, and pollution, making it invaluable for after-sun or winter skincare. 

FDA Disclaimer: "These statements have not been evaluated by the Food and Drug Administration. This product is not intended to diagnose, treat, cure, or prevent disease."