Showing posts with label Vitamin E. Show all posts

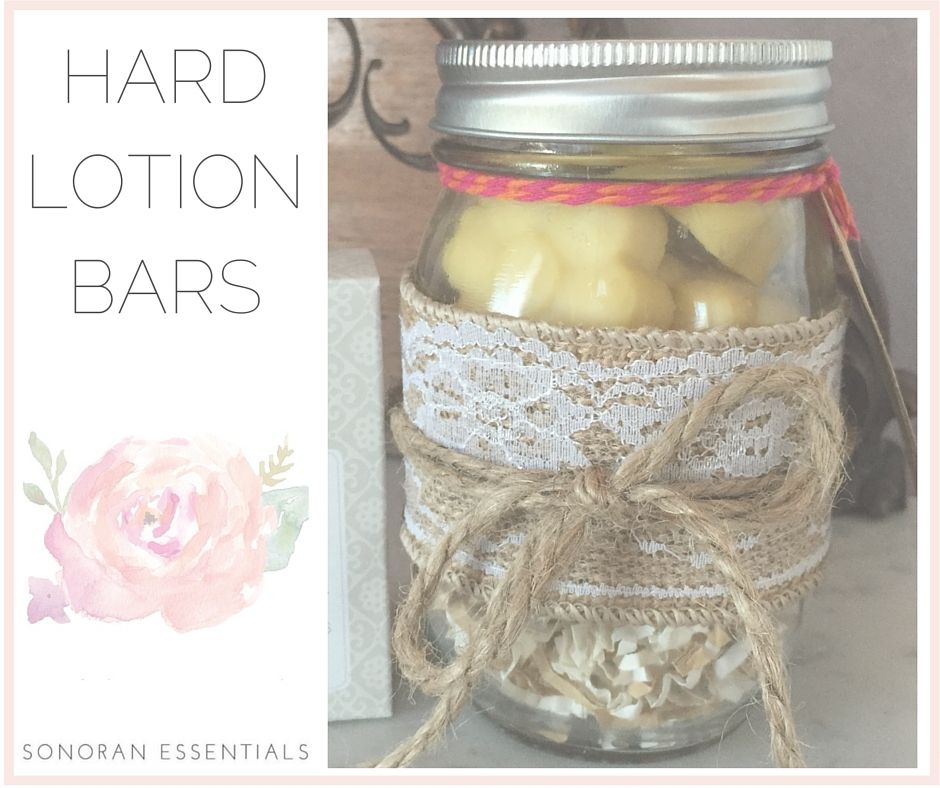
Hard Lotion Bars


I was initially inspired to make these lovely hard lotion bars due to the very hot and dry weather here in Arizona. My skin is naturally on the dry side, so living out here just made it worse. I needed a lotion that was able to keep my arms, legs, hands, and feet looking moisturized all day long. These little bars do exactly that! Now, I warn you, this is not a light moisturizer. This is a very heavy moisturizer, and a little bit goes a long way. I tend to have sensitive skin with certain lotions, but this lotion has yet to give me any problems after having used it for months. That being said, I'm clearly a big fan of these powerful little lotion bars. I liked them so much that I thought they would make great gifts, so that's exactly what I did. I really enjoy making homemade products, it's a lot of fun to me. Sure, it may take more time, but it's so original and you can really customize your products based on the needs of the person you are making it for.  Plus, it's economical once you are all stocked up on all of your basic DIY materials.

Shea Butter is a softer butter, so these bars will be a little softer, which is why I recommend storing them in the refrigerator until ready to use. Especially if you live somewhere hot like me! The beeswax smell does tend to overpower the smell of the oils. Despite lacking an aroma, the essential oils are still in there, providing the same level of therapeutic value.


Before you embark on this DIY mission, you are going to need a silicone treat mold, This recipe makes 2-3 dozen mini lotion bars, depending on the size of the mold. I recommend sticking to smaller mold sizes. I also recommend not making thin lotion bars, as they will not hold up well when applying them.

Ingredients:
  • 2/3 cup Beeswax 
  • 1/2 cups Coconut Oil
  • 1/2 cup Shea Butter 
  • 1 teaspoon Vitamin E Oil (approximately 4 capsules)
 

Essential Oils:
  • 20 drops of an essential oil of your choice.
...Lavender, peppermint, and citrus are always popular choices...
(I only use therapeutic grade essential oils that are safe for consumption.
For more information on how to purchase these oils, please feel free to contact me.)
Instructions:
  • Measure the beeswax, coconut oil, shea butter, and vitamin E in a glass jar. I used a glass Pyrex container, but anything glass or metal would work just fine.
  • Fill pan with about two inches of water. Bring to a boil. 
  • Place Pyrex container with ingredients into the boiling water. This is an important step. You want to do this to avoid having the ingredients get too hot, or use a double boiler.
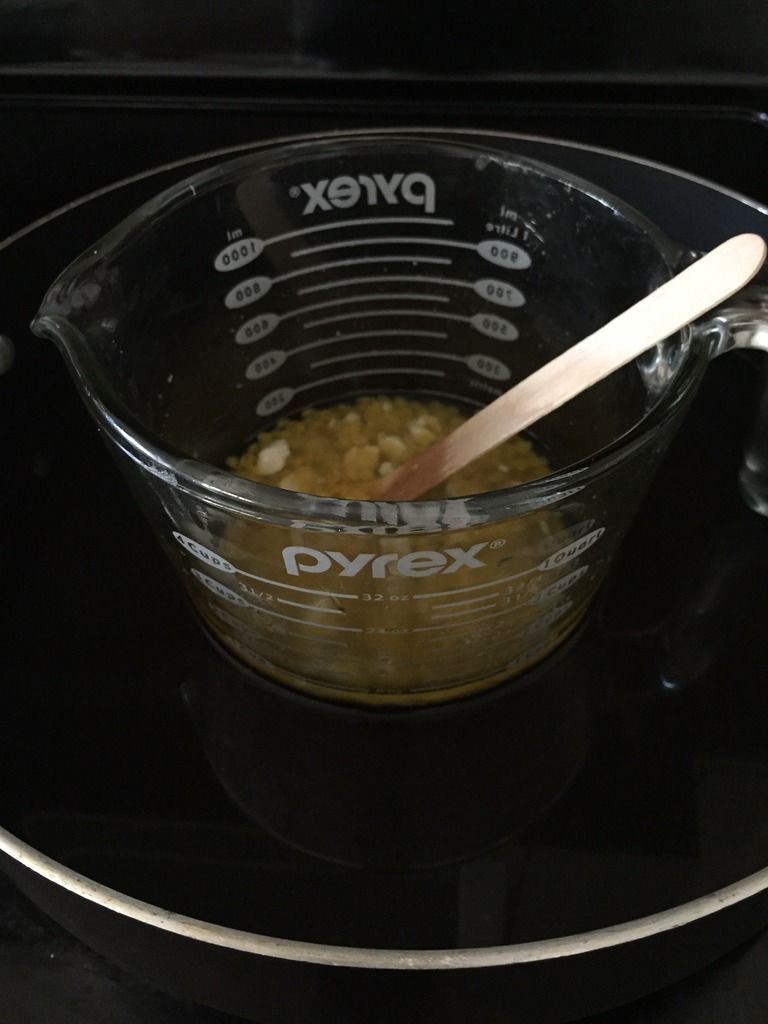
  • Bring heat down to a simmer. You don't want to overcook the lotion.
  • Stir ingredients until combined. Should take about 10-20 minutes. I used a wood craft (Popsicle) stick to stir, so that I could just toss it in the trash when done.
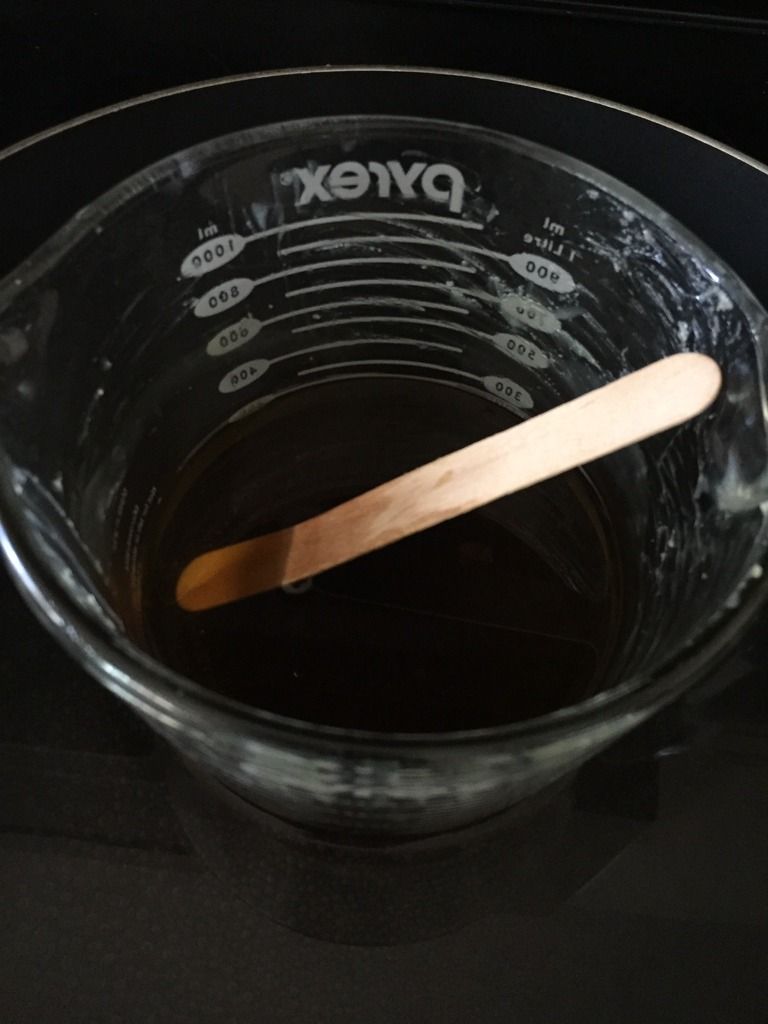
  • Once the lotion has been melted, remove it from the heat, and let it sit until the glass jar is no longer hot to the touch. Approximately 2-3 minutes.
  • When the lotion is cooled, add about 20 drops of essential oil and stir.
  • You could do one of two things here. You could pour the lotion directly into the silicone mold, or you could do what I did and pour the lotion into a wide mouth squeeze bottle (like this). It was so much easier to just squirt the lotion into the molds this way. Clean up was a breeze, too.
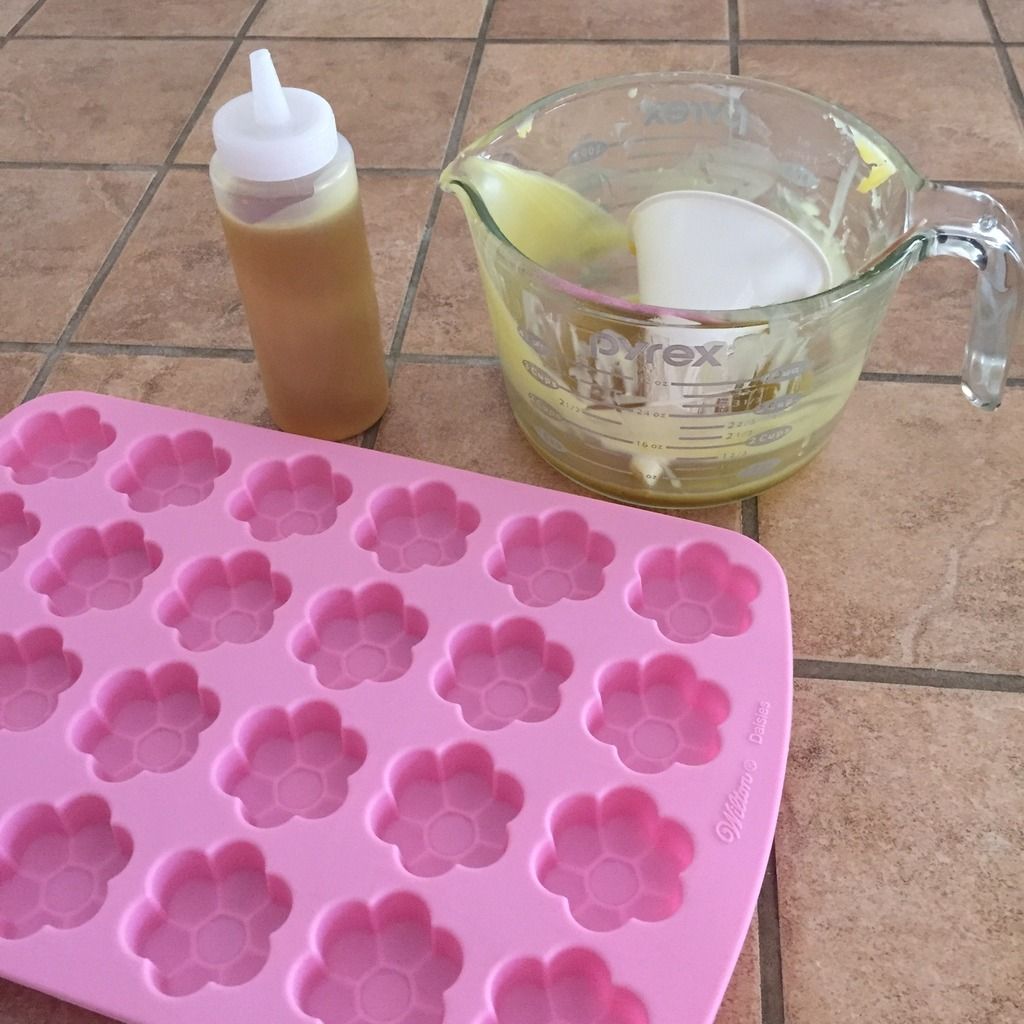
  • Once all of your molds are filled, let them harden for at least 3 hours, preferably in the refrigerator.
  • Remove the bars from the tray, and place them in a glass jar or ziplock bag in the refrigerator until ready to use. You could also store them at room temperature if you live in a cooler climate. 
  • When you are ready to use the lotion bars, simply rub them on the areas of your skin needing extreme moisture. 

Nerdy Extras:
Beeswax acts as a surfactant, meaning it acts as a barrier on the skin when blended into a cream or lotion. This barrier protects the skin from irritants, while still allowing the skin to breathe.

Coconut oil is a wonderful, and wildly popular, all-natural base for many DIY skincare and wellness practices. When applied to the skin, it absorbs into your skin and connective tissues, keeping them strong and supple, thus helping to reduce the sign of aging. It also helps exfoliate the outer dead layers of skin, making skin appear smoother.

Shea butter is extracted from the nuts of a Shea tree, which is indigenous to Africa. It's chemical constituents are rich, which include unsaturated fats, essential fatty acids, antioxidants, and vitamin E and D, among other noteworthy constituents. It is considered to be "Super-Food" for your skin, and one of the best anti-aging agents available; improving wrinkles, fine lines, and scars. It is deeply moisturizing, and stimulates collagen production (what makes your skin look younger). It protects your skin from UV sunlight, harsh (cold/dry) climates, dehydration, and pollution, making it invaluable for after-sun or winter skincare. 

FDA Disclaimer: "These statements have not been evaluated by the Food and Drug Administration. This product is not intended to diagnose, treat, cure, or prevent disease."


Natural Brow & Lash Enhancement

Once upon a time I would over-pluck my eyebrows. I have fairly thick eyebrows naturally, and of course always wanted them thinner. The grass is always greener, right? Anyway, I have been trying to grow my eyebrows back out for years. I had been penciling in little bald spots in my eyebrows to give them good shape. Then I stumbled upon a little beauty secret; castor oil. Castor oil not only helps regrow eyebrows, but it also helps lengthen your eyelashes as well. It is very inexpensive, all natural, and extremely effective. Some people are turned off by it because it tends to be a little thick and sticky. I don't mind, because it actually works!!! I've been using it for a few months now, and I no longer have to pencil in my eyebrows! I was in shock after I got my eyebrows waxed last time. There was no lecture on letting them grow out. They looked perfect! My lashes are even starting to get longer. Woo-hoo!


Ingredients:
  • 1 1/4 teaspoon Castor Oil
  • 1/4 teaspoon Vitamin E (or approximately 5 capsules)


Essential Oils:
  • 4 drops Lavender Essential Oil
  • 4 drops Rosemary Essential Oil
(You could also omit the essential oils, and still get excellent results with the Castor Oil.
I only use therapeutic grade essential oils that are safe for consumption.
For more information on how to purchase these oils, please feel free to contact me.)


Instructions:
Acquire some clear empty mascara containers. You could always just up-cycle your old mascara tubes and wash them out really well. Another option is you could use an empty jar and a disposable mascara wand. If you choose to go that route, make sure you store the wand somewhere sanitary. In my opinion, it was just so much easier and much more sanitary to buy the containers.

Add the castor oil and vitamin E oil to the empty mascara container and stir gently. Depending on the size of the container you are using, the measurements I listed are to be used loosely. The container should not be more than half full, otherwise it will overflow.

Put in the essential oils, if you have them, and stir gently.

Remember, consistency is the key! Apply once daily for optimum results. I apply the serum at the end of my night-time beauty routine on clean dry lashes. I brush the serum on like I would mascara, and apply to the top and bottom lashes. Then I use the same wand and brush my eyebrows with it. Making sure to remove any excess product, as the eyebrows need less product than eyelashes.

And you're done! You now have your own homemade eyelash and eyebrow growth serum!

Nerdy Extras:
Castor Oil is a natural source of vitamins (including vitamin E), minerals, proteins, and fatty acids that help lengthen and thicken hair. It also helps, soften, moisturize, and seal hair. It is high in ricinoleic acid, which has natural anti-bacterial and anti-fungal properties. This helps keep fungus or bacteria from inhibiting hair growth. It is also able to penetrate the pores and follicles that produce hair.

Vitamin E provides additional fatty acids and antioxidants to help speed hair growth. It also acts as a natural preservative by extending the shelf life of homemade products.

Lavender Essential Oil is helpful in minimizing hair breakage and promoting hair growth.

Rosemary Essential Oil supports healthy hair growth and strength by stimulating the hair follicles. 

FDA Disclaimer: "These statements have not been evaluated by the Food and Drug Administration. This product is not intended to diagnose, treat, cure, or prevent disease."


Homemade Puppy Shampoo


Happy National Dog Day! I recently got a Boston Terrier puppy. Her name is Lucy. She is so sweet and makes my life so much more joyful (potty training aside, haha). It's crazy how one tiny little puppy can literally transform the mood in my home for the better. After making the move out to the gorgeous Sonoran Desert, things got a little complicated. Everyone in my home was homesick in just about every way. Then little Ms. Lucy came along and turned things around. She has been a total Godsend. I had been wanting to test out my essential oils and homemade products on pets, so I thought making a DIY puppy shampoo would be the perfect way to jump start my new interest.

The shampoo worked so much better than I expected!
Her coat was so soft and shiny and she smelled great! 

Ingredients:
  • 1 cup water
  • 1/3 cup oatmeal
  • 1 tablespoon Dr. Bronner's Liquid Castile Soap
  • 1 tablespoon apple cider vinegar
  • 1/4 teaspoon of vitamin E (or approximately 5 capsules)


Essential Oils:
  • 3 drops Peppermint
  • 2 drops Lavender
  • 2 drops Cleansing Blend
  • 1 drop Cedarwood
(You could potentially omit the essential oils.
Although, in my opinion, it is what makes this recipe so amazing.
I only use therapeutic grade essential oils that are safe for consumption.
For more information on how to purchase these oils, please feel free to contact me.)


Instructions:
Add the oatmeal to a blender and mix until it becomes a powder consistency.

Heat the water up until it is very warm. Add the hot water to the oat powder inside the blender. Mix until well combined. Let it sit for a few minutes, until it thickens.

Add castile soap, apple cider vinegar, and vitamin E to the blender. Mix until combined.

Put the essential oils in the mix, again, blending until combined.

Pour finished shampoo into a glass jar to store.

Apply a quarter sized drop over dog and massage into coat, leaving on your pup for as long as they will tolerate it, or about five minutes. Be sure to rinse well.

Nerdy Extras:
Oatmeal is great for your dogs coat. It has many vitamins and minerals that helps their skin heal faster. It can help soothe skin irritations and itchiness, making it an excellent choice for dogs battling hot spots, eczema, and psoriasis. Living in the desert, the humidity is generally pretty low, so dogs around here can get pretty dry and flaky. Oatmeal helps battle that by moisturizing, cleansing, and softening your dogs coat.

Castile Soap has so many uses, but as a dog shampoo it helps to remove dirt, oil, and even pests. It is very gentle on sensitive skin and great for dogs who have itching issues.

Apple Cider Vinegar helps to clean your dogs coat/skin. Bonus - It is also a natural flea repellent!

Vitamin E can help support the skin of your dog by reducing flakiness. It also promotes a healthy, glossy looking coat.

Peppermint Essential Oil is excellent at repelling insects and supporting healthy circulation.

Lavender Essential Oil is a very safe and gentle oil to use on your dog. Our veterinarian even diffuses it in her office for the dogs in there.

Cleansing Blend Essential Oil Blend is great at neutralizing odors and soothing skin irritations.

Cedarwood Essential Oil is a natural antiseptic and flea repellent. It helps with circulation and is a powerful coat conditioner. 

FDA Disclaimer: "These statements have not been evaluated by the Food and Drug Administration. This product is not intended to diagnose, treat, cure, or prevent disease."